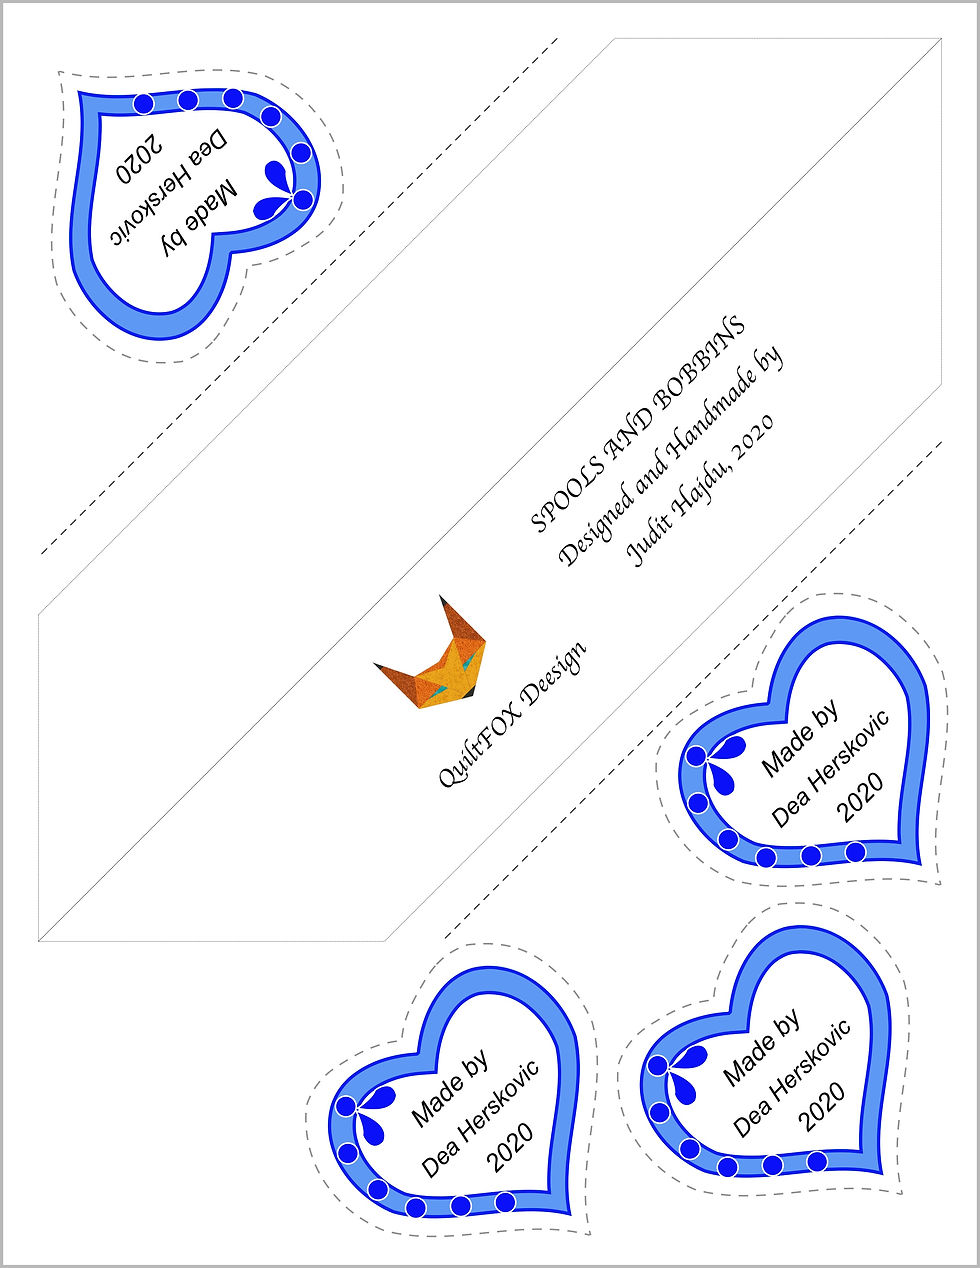
Printed Quilt Labels
- Judit Hajdu

- Jan 1, 2020
- 2 min read
This is a cheap, fast and easy way to make labels for your quilts. You can create simple labels with any word processor but if you want something fancier you need to use a graphic design software (there are free ones you can download). I just made these for my best quilting friend, Dea, who is a very productive quilter and needs 20-30 labels per year.
Making the labels

- use white solid (like Kona solid) fabric
- treat the fabric with Bubble Jet Set as instructed by the manufacturer
- iron freezer paper on a slightly larger than US Letter size pice, press it well on both sides to fuse the layers together
- trim it back to 8.5" x 11" (US Letter)
- iron it again and be sure that the edges do not fray
- load it into your printer, the freezer paper is facing upward (unless your printer prints on the top side)
- print (and while printing hold your breath)
- do not print more than one at a time, the second one almost always jams
You can print several labels on one sheet, cut them apart. Remove the freezer paper and iron on fusible interface to strengthen the label.

You can also buy colorfast printable fabric. If you make several quilts a year and give them away it is worth investing into these treated sheets. It will last for a long time. These sheets
can also be used for printing photos which you can sew into memory quilts.
If you would like to add a personal touch, print personalized
quilt labels with special messages, graphics and photos.
Attaching the label
My favorite way to attach the labels to my quilts is sewing
them into the bottom right corner of the quilt diagonally as
shown on the Spools and Bobbins quilt on the left.
- I sew the label into a tube with right side inside, turn it inside
out and press it flat
- I stitch the ends to the quilt and trim off the extra, the ends
will be covered with the binding
The heart shaped labels can be finished with small blanket
stitches and sewn to the back of quilt with invisible stitches.


Comments